Programs are a core feature of Storyline. They're incredibly flexible and are used for both academic and clinical research, and clinical use.
To create a new Storyline program:
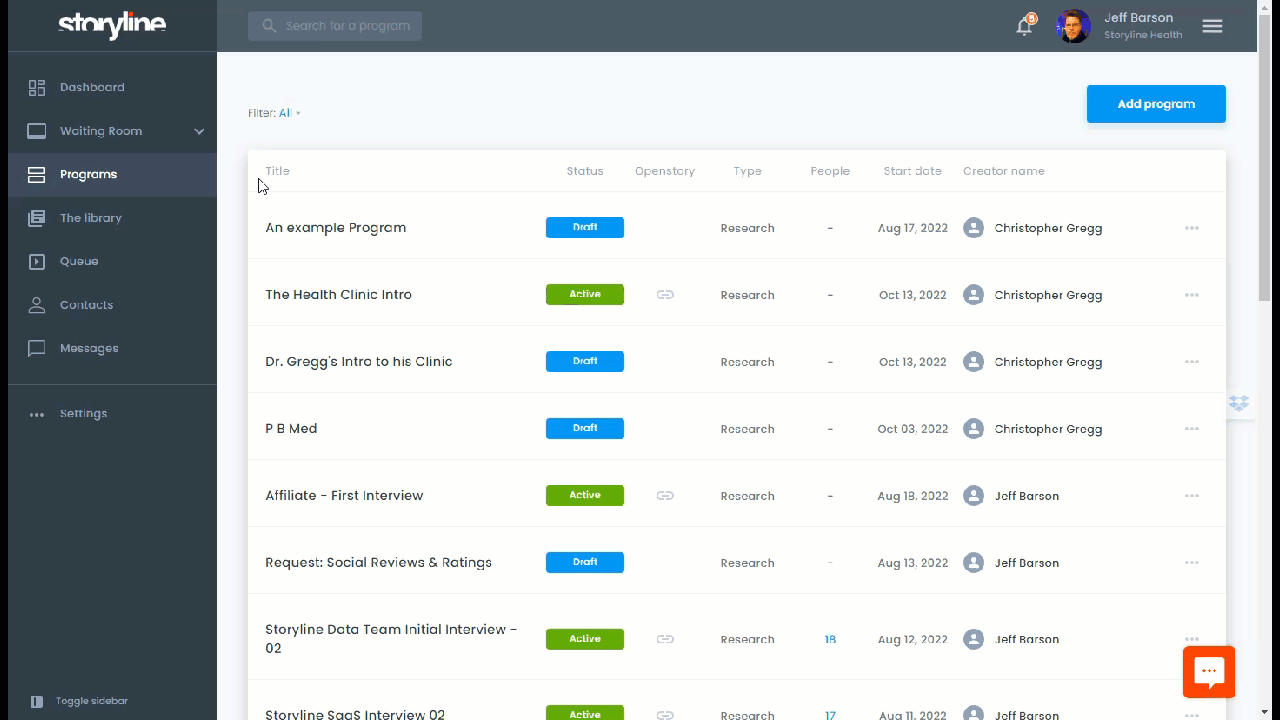
- Go to: Programs > Click "Create program" button
That will create a new program take you to the Program Page where you can build and edit your program.
To build or edit a Storyine program
- Name your program: this is for internal use will not be shown externally
- Design and build your program in the right column: This is where you can add sessions, questions, and control all of the scheduling and settings for your program. Programs can easily be built from a single sesson with 1 question, to multi-year programs with dozens of sessions and hundreds or thousands of questions. (Don't go crazy. Make sure that you're using best practices for Program design.)
- Create your experience in the left column: Information you enter in the 'Experience' column is what participants in your program will see. You can change this for every program to control the experience, include specific help URLS, phone numbers and other information that make the program friendlier and more understandable for participants.
- Test your program by clicking "Add people" and toggling data collection slider to "Off". This will allow you to send your working program to anyone (including yourself) without actually adding their data to your program.
- Launch your live program using Openstory, adding people, or both. Storyline makes it easy to enroll or add people and begin collecting data. You can allow peopel to self-enroll (Openstory) or add them individual or by uploading a list.